Prices incl. VAT plus shipping costs
Free shipping from 600 EuroDelivery time: 2 - 4 working days
Order within 59 hours, 27 minutes and 8 seconds for guaranteed shipment monday, 14.04.2025
- Order number: A0002980
- Producer EAN: 4018448104125
| Brand: | DURAL |
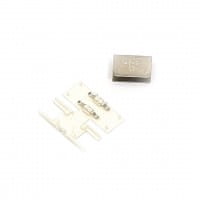
| Colour: | Wandschalter weiß/ Rand (transparent/ weiß) |
| Höhe: | Wall bracket 1.4 cm |
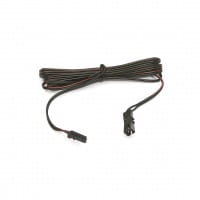
| Length: | Socket connection cable 2 m |
| Wide: | Wall bracket 8.6 cm |
| System: | DURAL Emotion |
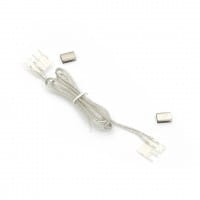
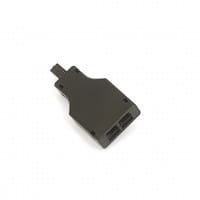
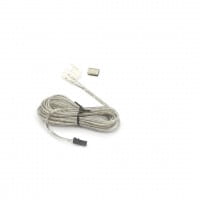
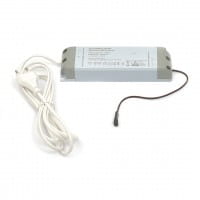
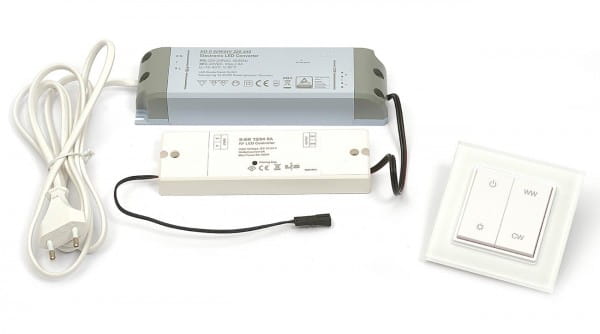
| Scope of delivery: | Connecting cable transformer - radio receiver, Connection cable radio connector - LED Strip, Header for control element, Radio wall switch, Socket Connection cable, Transformer |
| Performance: | 60 Watt |
| Protection class: | IP20 |
| Voltage: | Input voltage 230 V, Input voltage max. 240 V, Input voltage min. 220 V, Output voltage 24 V |
- High quality
- Short delivery time
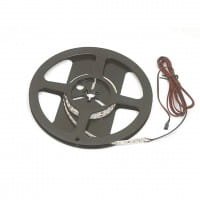
With the DURAL LED connection set of the Emotion series you bring your professional LED lighting to life. The DURAL LED connection sets always consist of a powerful transformer, a radio receiver matching the control element and the wiring harness required for connection. To operate the DURAL LED strips there is either a radio wall switch or a remote control. Both control elements cannot be combined with each other.
How many watts of power does my transformer need to operate the DURAL LED strips?
| Power transformer | Maximum length strip |
|---|---|
| 60 watt power | up to 7,5 meters |
| 120 watt power | up to 15 meters |
Tip: If you reach the power limit of a transformer, we recommend that you select the next higher transformer so that it does not have to run continuously at its maximum power. This generally improves the life of all transformers.
Quick guide
- After the DURAL LED profiles including the DURAL LED strips have been installed, first find a suitable place to place the transformer and the radio receiver. (Both transformer and radio receiver should be accessible at all times).
- Connect the LED strip with the help of the enclosed connection cable. If necessary, you can use the DURAL LED extension cable to increase the distance between the LED strip and the radio receiver.
- Insert the battery radio wall switch or remote control.
- To connect the controls, briefly press the "Paring Key" button on the radio receiver once, then the radio wall switch or remote control should work automatically.
- In case of changing the batteries of the control elements, repeat the previous step if necessary
