Tile installation can be a rewarding DIY task, even for beginners. In this article, we will explain the basics of tiling in seven steps. The first step will give you a brief summary of each. For those who like to know a little more in detail, we have a detailed step-by-step guide in the bottom part.
- Step - Preparation: Make sure the surface is level, clean and dry and improve the adhesion of the tile adhesive by using a primer if necessary.
- Step - Tools and materials: get the right tools such as tile adhesive, tiles, notched trowel, spacer, level, tile cutter, rubber mallet and sponge.
- Step - Plan tile pattern: think about the pattern you want to create with the tiles and ensure even joints between the tiles by using a spacer.
- Step - Cut Tiles: Use a tile cutter or tile nippers to make precise cuts
- Step - Glue tiles: Apply tile adhesive evenly to the substrate and press the tiles into the adhesive, tapping them gently with a rubber mallet.
- Step - Apply grout: Apply the grout into the joints between the tiles and clean the tiles with a sponge to remove excess grout.
- Step - Refinishing and Cleaning: Touch up any irregularities and clean the tiles thoroughly once again: remove excess mortar and dust.
Would you like a little more detail? No problem. We'll go into more detail on every point!
Tile installation is a skilled craft that can not only greatly improve the aesthetics of a room, but also increase its functionality and longevity. Whether you're an experienced DIYer or a beginner, this guide will give you the confidence and knowledge to successfully complete your tile project. Prepare to transform your spaces into stylish and functional areas by mastering your own tile installation skills.
Step 1: Preparation
 Untergrund vorbereiten
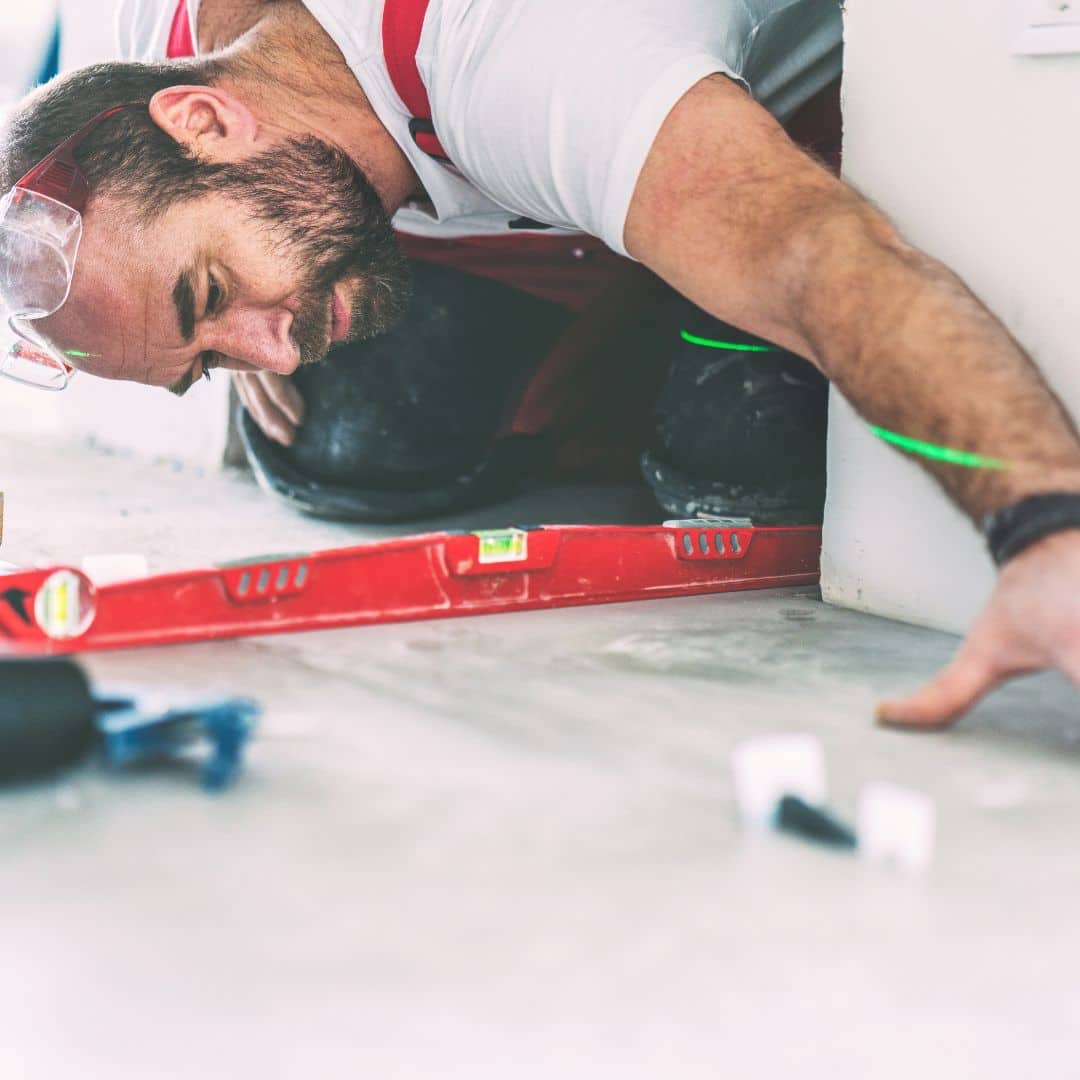
Before you start the actual tiling, meticulous preparation of the substrate is the key to a successful project. The substrate must be perfectly prepared to ensure that the tiles can be laid evenly and stably.
- Flatness and Alignment: the subfloor must be level and aligned to ensure even tile installation. Uneven areas should be leveled and cracks repaired.
- Cleaning the substrate: remove dirt, dust and contaminants to ensure adhesion of the tile adhesive.
- Use of primer: If necessary, a primer can be applied to improve adhesion.
- Marking and Alignment: Carefully mark the desired tile layout line and use a level to ensure it is level.
Solid preparation sets the stage for flawless tile installation and minimizes problems later.
Step 2: Tools and materials
 Tool laying tiles
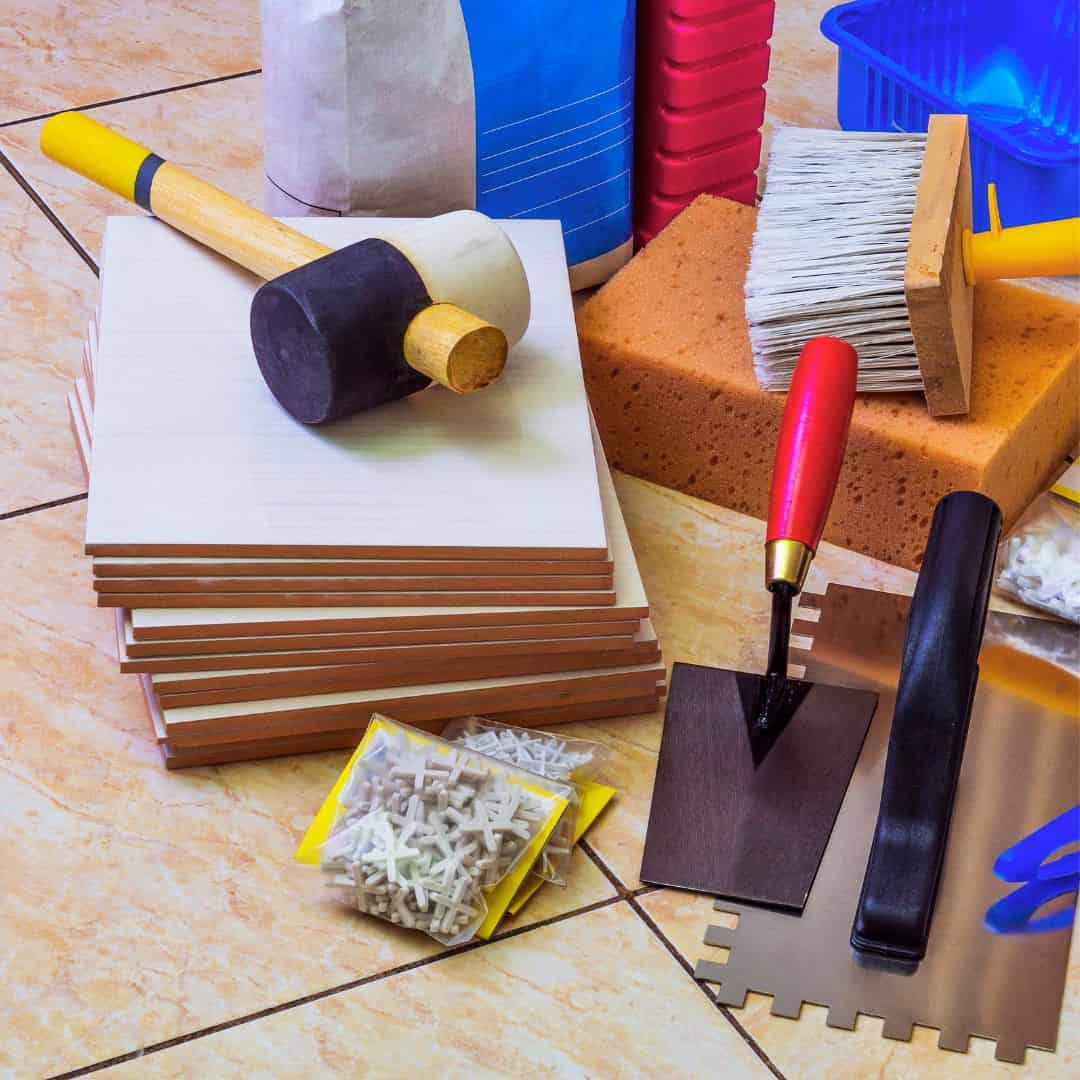
Choosing the right tools and materials is critical to the success of your tile installation project. Here are the essential elements:
- Tile Adhesive: Tile adhesive is the foundation of your tile installation. Choose the appropriate adhesive for your application, whether powder or paste.
- Tile: Decide on tiles that match your project style and purpose. Consider the size, shape, color and material of the tiles. Remember to buy extra tiles as a backup.
- Spatula: A spatula, such as our Surface Spatula (480mm) is essential to apply the adhesive evenly to the substrate. The tooth shape leaves grooves that improve adhesion.
- Spacers: use spacers, e.g. our DURAL Nivofix basic set, to ensure even joints between the tiles. This will facilitate subsequent grouting and improve the aesthetics of the flooring.
- Level: The level ensures that your tiles are laid straight and at the desired height. A level surface is critical to the final result.
- Tile cutter or tile nipper: Depending on your cutting requirements, you may need a tile cutter for straight cuts or e.g. our tile cutting & breaking nipper to adjust tiles to corners or obstacles.
- Rubber mallet: The rubber mallet helps to tap the tiles gently to ensure that they adhere evenly in the adhesive without causing damage.
- Sponge: A sponge, such as our Hydro Natural Sponge is necessary to remove excess adhesive and subsequent grout. Keep the sponge clean to ensure a clean finish.
Choosing high quality tools and materials will ensure a smooth project. You will be well prepared to start the next step, planning the tile pattern.
Step 3: Plan tile pattern
 Tile plan
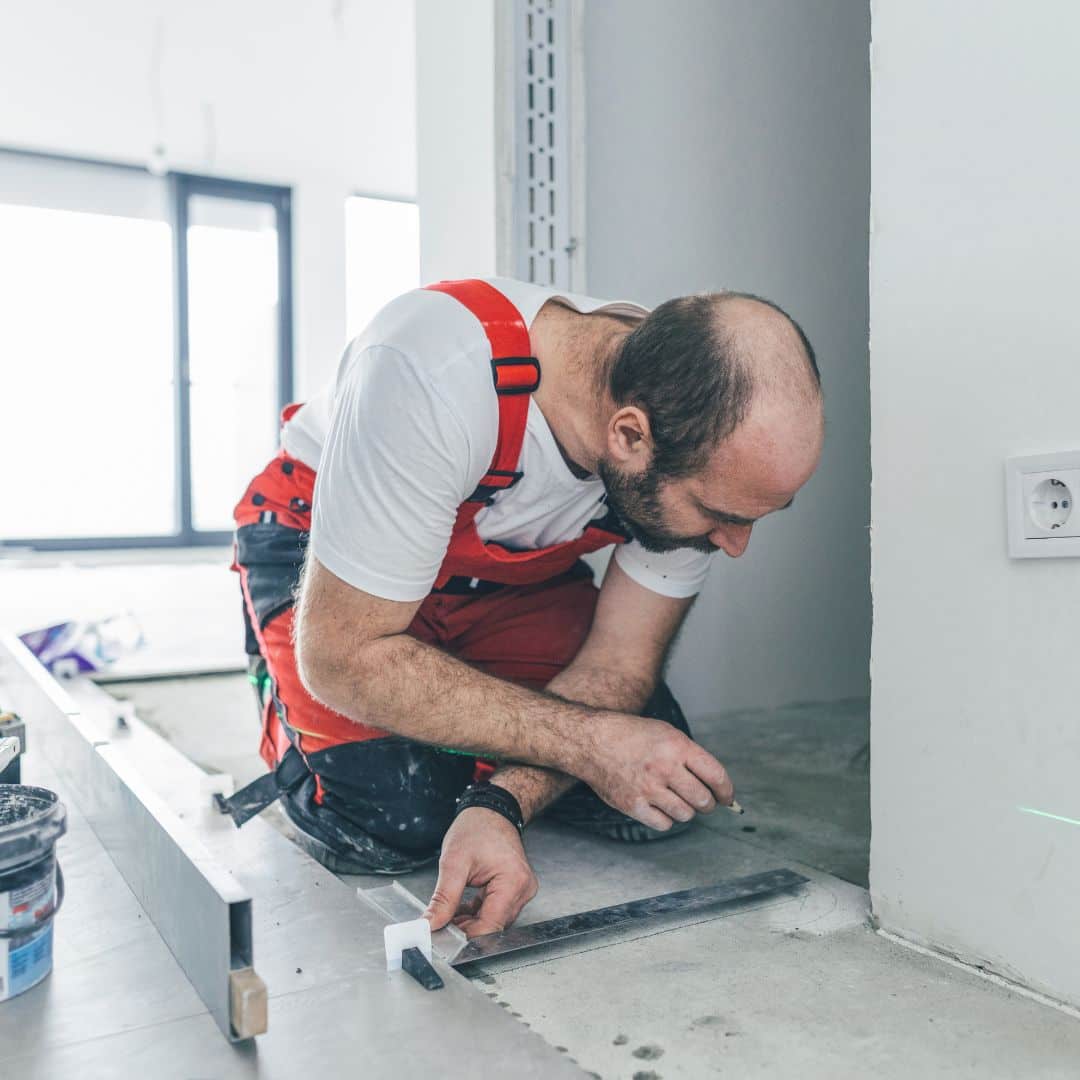
Careful planning of the tile pattern plays a crucial role in the visual appeal and stability of your tile project. Here are the important aspects:
- Pattern selection: start by considering which tile pattern will best suit your design and space. Common pattern options include the offset pattern, herringbone pattern, diagonal pattern and diamond pattern. Your chosen pattern will have a significant impact on the visual appearance of the floor or wall.
- Use spacers: spacers are essential to ensure that the joints between tiles are even and consistent. Placing spacers between tiles not only allows for an aesthetically pleasing look, but also provides stability to the surface structure. Choosing the right spacer size will determine the width of the joints and should match your chosen pattern.
- Visualization and layout: before you start laying the tiles, it is recommended to visualize your chosen pattern on the substrate. This can be done with the help of dry tiles or chalk lines. This preliminary work will allow you to best match the pattern and ensure that it looks symmetrical and balanced.
- Consideration of cuts: When planning, also consider how you will need to cut the tiles at the edges and corners to make your pattern fit seamlessly. Precise cutting is critical to ensure a clean and professional appearance.
Careful planning of your tile pattern is critical to achieving an impressive end result. A well-designed pattern not only adds to the aesthetic appeal, but also ensures the structural integrity of your tile installation. Once your pattern is established, you are ready to apply the tile adhesive and begin the actual installation of the tiles.
Step 4: Cut tiles
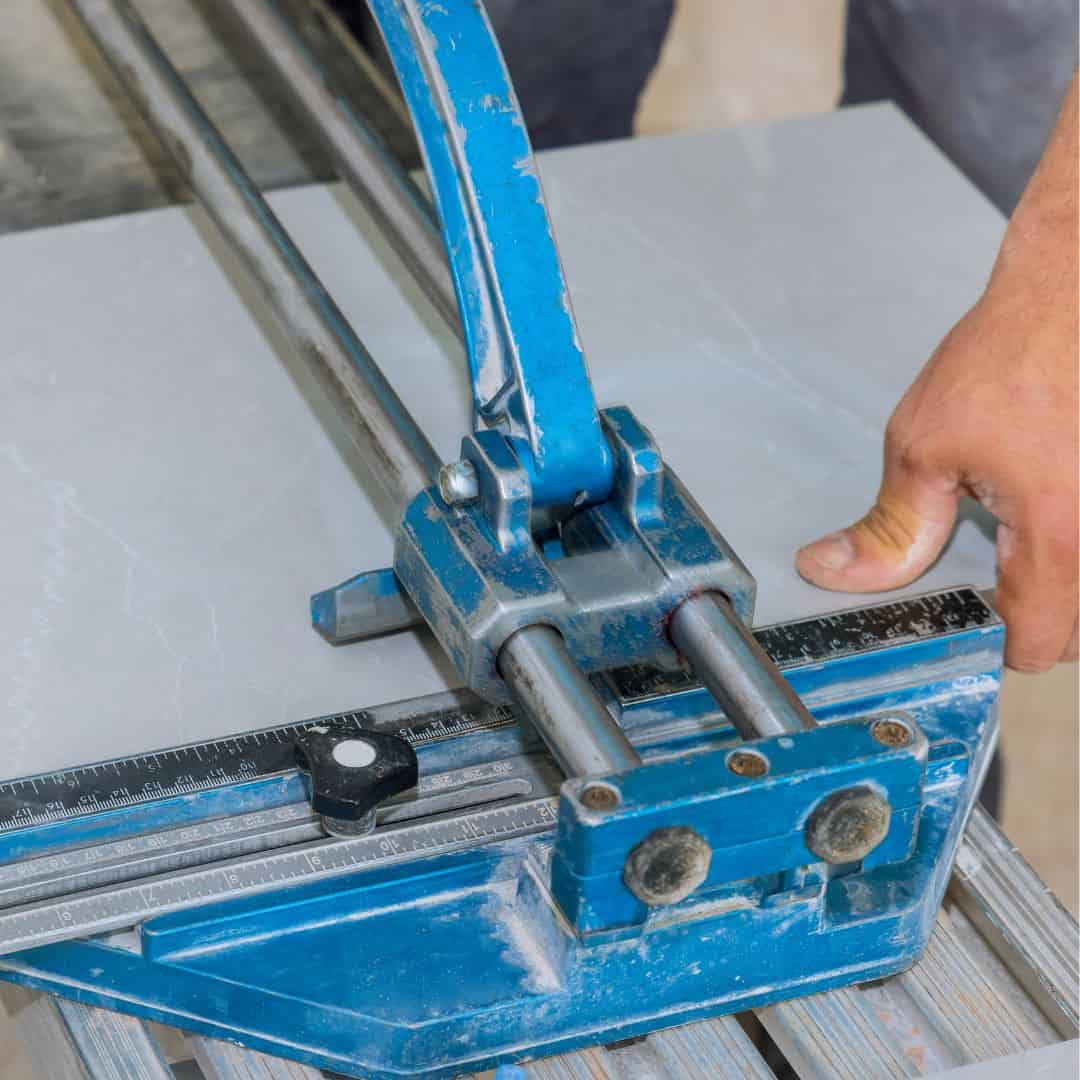 Cutting tiles
Cutting tiles to size is an important step in fitting tiles to corners, obstacles or edges. Here you will find detailed instructions:
- Tool Selection: Depending on the type of tile and the type of cuts you need to make, there are two common tools you can use: a tile cutter and tile nippers. A tile cutter is great for straight cuts, while tile nippers are ideal for fitting tiles in curvy or irregular shapes.
- Marking the cut lines: Draw the cut lines on the tile with a pencil or marking pen (tile & glass marker red). Make sure your marks are accurate and clear to ensure accurate cuts.
- Cut Tile: If using a tile cutter, place the tile on the cutting surface and make sure the cut line is aligned with the cutting edge of the tool. Apply even pressure and pull the tool along the mark to cut the tile. If using tile nippers, place the nippers at the marked cut line and squeeze to break the tile. Work slowly and carefully to make clean cuts.
- Adjusting the Tile: After cutting, adjust the tile to the desired position. Check carefully to make sure it fits exactly and that the desired adjustments have been made.
- Safety precautions: Always wear appropriate protective equipment, such as safety glasses and gloves, when cutting tile to prevent injury.
Cutting tiles requires precision and care to ensure that the tiles fit perfectly into your tile installation. With the right tools and accurate marking, you can easily handle challenging cuts.
Step 5: Glue tiles
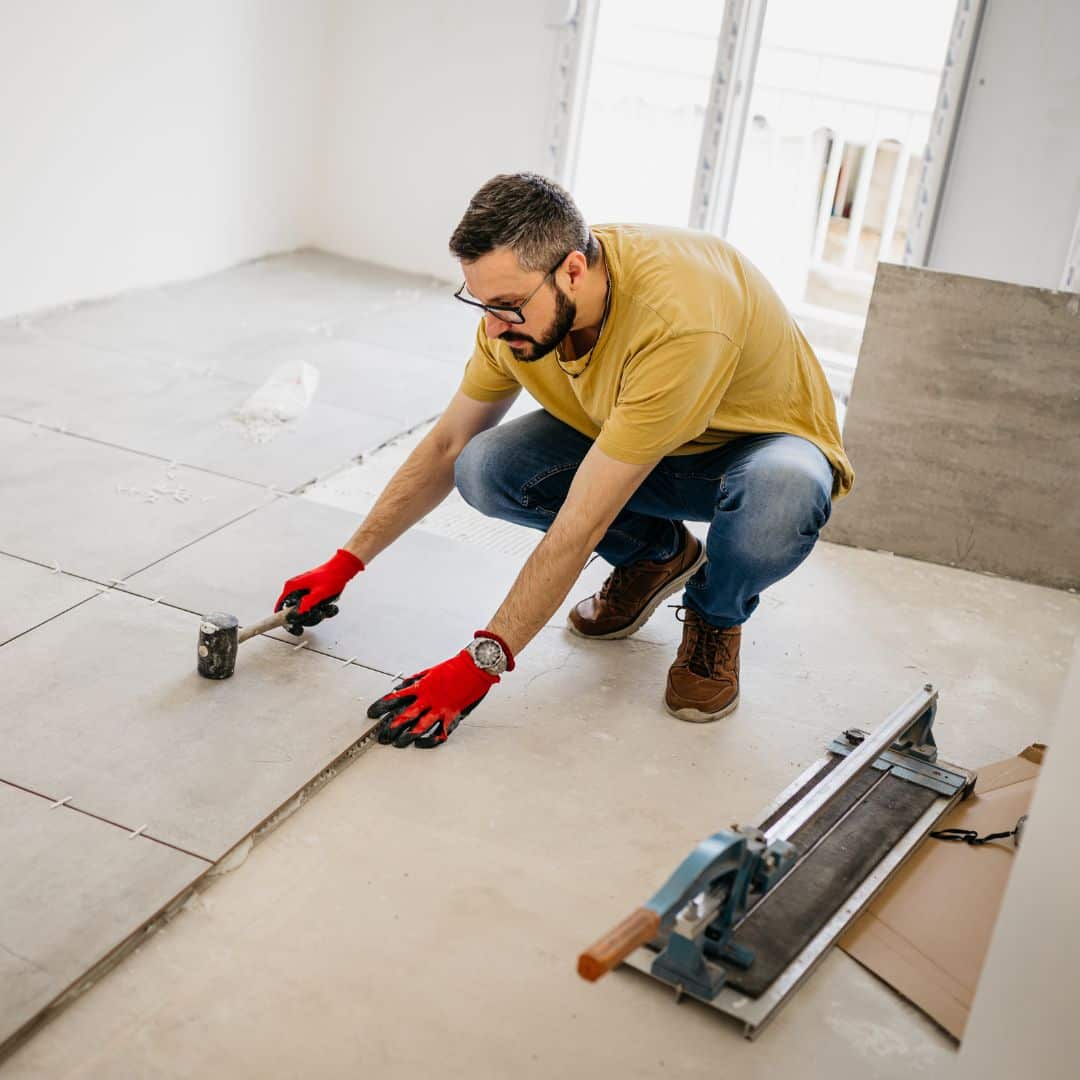 Glue tiles
Proper application of tile adhesive is critical, as it is the foundation of your tile installation. Here are the essential steps in detail:
- Prepare tile adhesive: Mix the tile adhesive thoroughly according to the manufacturer's instructions - works great with our spiral mixer. Be sure to get the right consistency to ensure optimal adhesion. Avoid adding too much or too little water as this can affect the adhesive properties.
- Apply the adhesive evenly: Apply the prepared tile adhesive evenly to the prepared substrate. To do this, use a spatula to create grooves in the adhesive. The notched shape of the trowel improves adhesion and ensures that the tiles lie evenly.
- Place tiles: Press the tiles firmly into the adhesive. Start in a corner and work your way systematically to make sure the tiles are laid evenly. Use a level to make sure the tiles are at the desired height and alignment.
- Use the rubber mallet: the rubber mallet is helpful for gently tapping the tiles to ensure they adhere evenly in the adhesive. This step increases stability and provides a firm bond between the tiles and the substrate.
- Remove Excess Adhesive: Be sure to immediately remove any excess adhesive that protrudes between the tiles. Use a suitable tool for this purpose to ensure a clean and professional appearance.
Accurate and even application of tile adhesive is essential to ensure a safe and durable tile installation.
Step 6: Apply grout
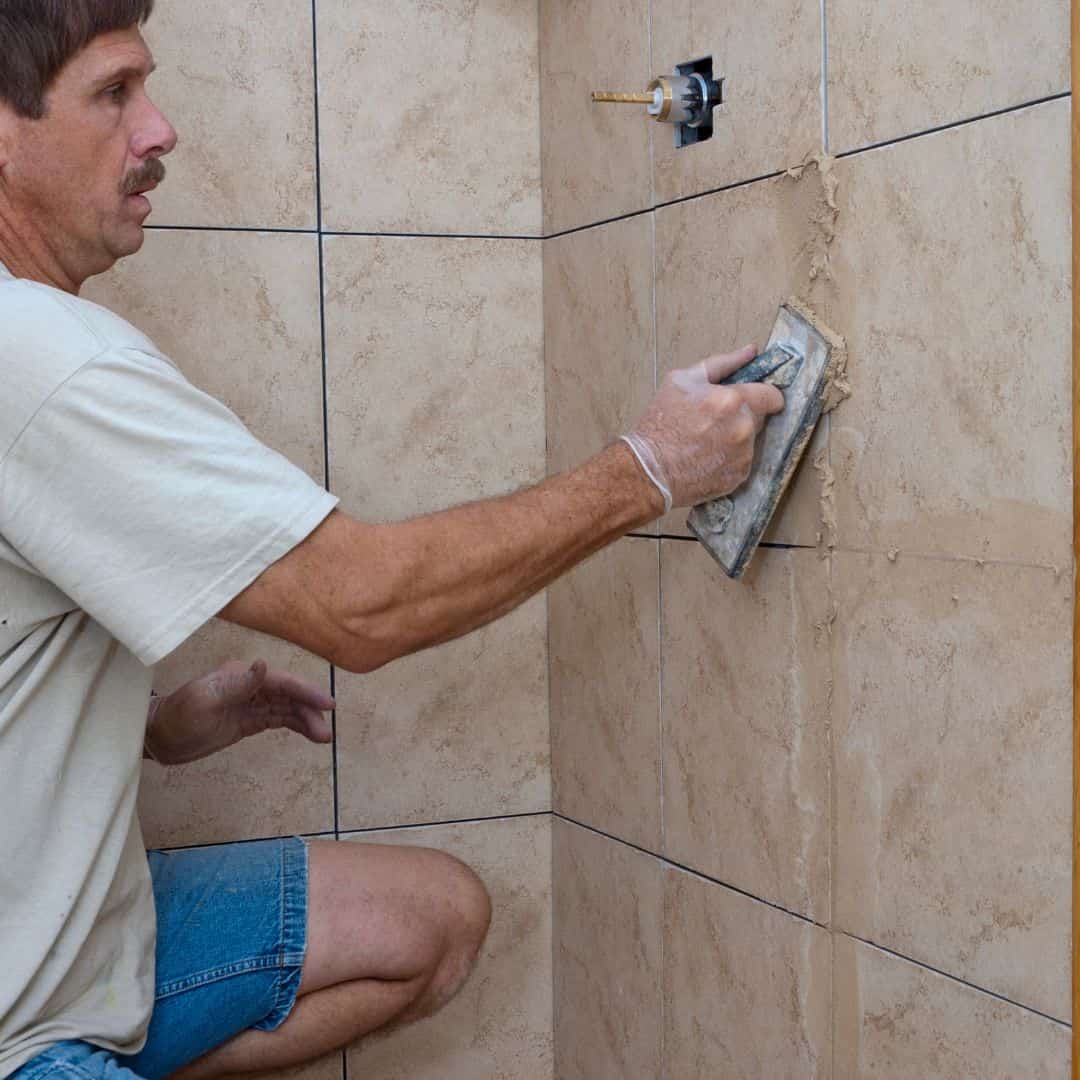 Apply grout
The grout application step gives your tile installation stability and an aesthetically pleasing finish. Here are the detailed steps:
- Grout preparation: mix the grout thoroughly according to the manufacturer's instructions. Be sure to achieve the proper mixing consistency to ensure optimal application. Allow the grout to rest for a few minutes after mixing.
- Application of the grout: Use a grout trowel, e.g. Fugenspachtel Mulitglättfix or a trowel,to apply the grout evenly into the joints between the tiles. Press the grout firmly into the joints to ensure they are completely filled.
- Remove excess grout: After applying the grout, use a damp sponge to remove excess grout from the surface of the tiles. Work at a 45-degree angle to the grout lines to smooth the grout while ensuring it remains in the joints.
- Repeat and clean: Repeat the process on small sections of your project to make sure the grout doesn't harden too soon. Clean the sponge periodically to remove excess grout and achieve a clean finish.
- Allow to dry: Allow the grout to cure according to the manufacturer's instructions. Exact drying time may vary depending on grout type and environment. During this time, the surface should be protected from moisture and disturbance.
- Polishing: After the grout has dried, you can polish the tiles with a clean, dry cloth to remove any grout residue or haze and improve the appearance.
Proper grout application is critical to ensure not only the structural stability, but also the aesthetic quality of your tile installation. With these steps, you'll be well on your way to achieving a flawless and professional result.
Step 7: Rework and cleaning
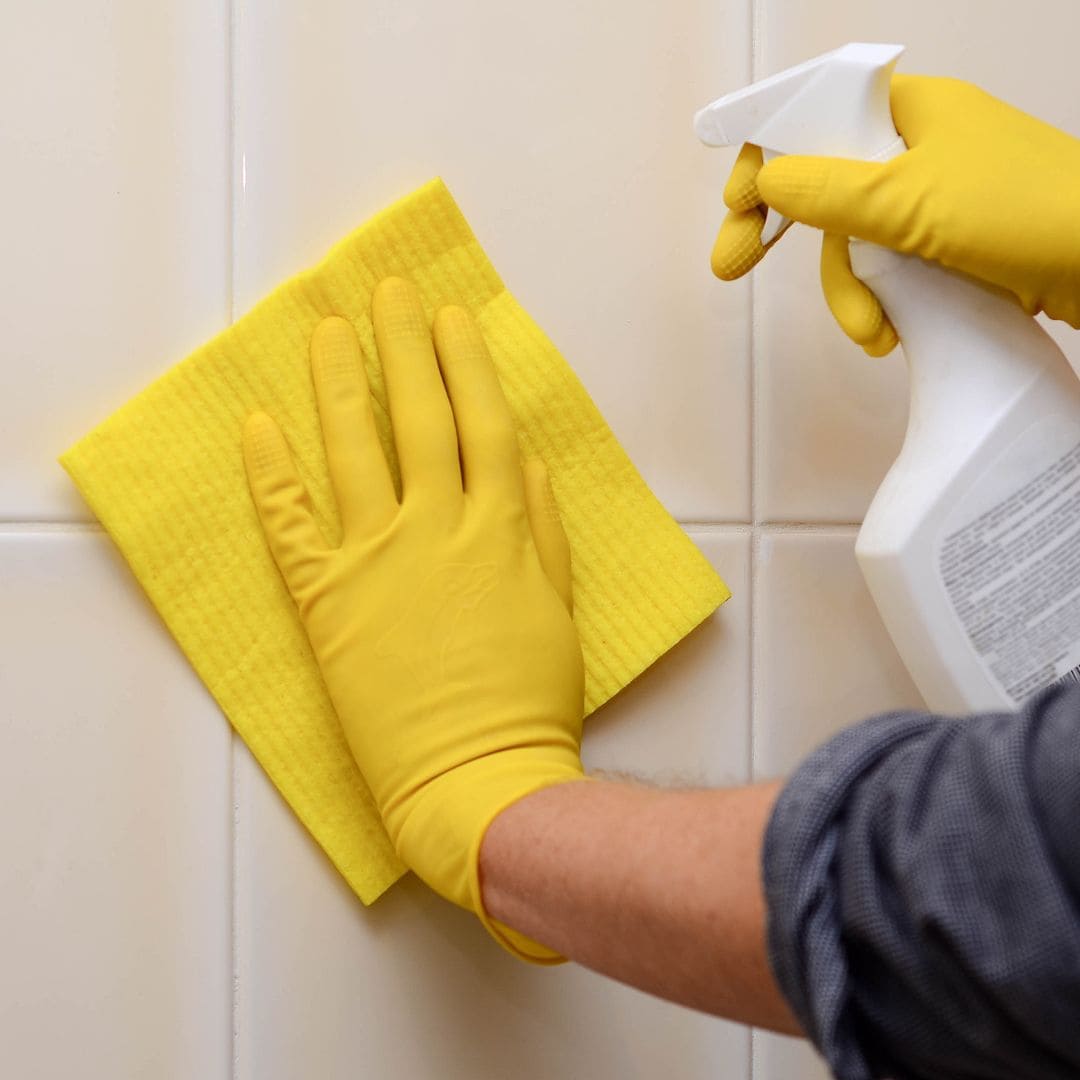 Tile cleaning
Finishing and cleaning are the final steps to ensure your tile project looks flawless and is well protected. Here are the detailed steps:
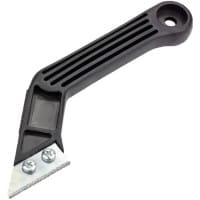
- Inspect and Touch Up: After the grout is completely dry, carefully inspect your tile installation. Look for any irregularities, such as uneven tiles or grout overhangs. If necessary, use a grout scraper or knife to carefully correct such imperfections and ensure that your tiling is spotless.
- Clean the tiles: To remove excess grout, dust and any dirt, clean the tiles thoroughly. Use a clean, damp sponge to clean the surface. Periodically wipe the sponge to ensure a clean clean.
- Protect the grout lines: check the grout lines between the tiles and make sure they are evenly filled and intact. If necessary, you can apply additional grout and smooth the joints.
- Final polishing: Polish the tiles with a clean, dry cloth to remove any grout residue or haze and improve the appearance.
- Protection and Drying: Allow the tiles to dry and harden sufficiently after cleaning. This is important to ensure that the tile installation is stable and protected.
Careful refinishing and cleaning will ensure that your tile project looks professional and appealing. A clean finish contributes greatly to the durability and aesthetics of your tile installation. Now that your project is complete, you can admire your new tile project and take pride in your craftsmanship. Remember that practice makes perfect, and the more you tile, the more you will improve in this art.


