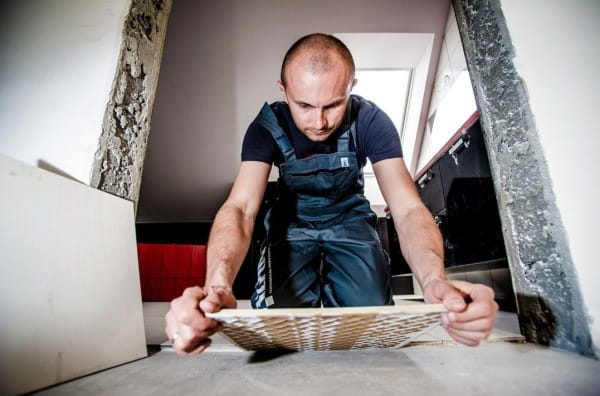
Last week we gave you an introduction to basic DIY equipment. Today, we'd like to get a little more specific and focus on tiling. For tile layers in particular, it's important to take care of your health. Working on your knees demands a lot, so you should attach great importance to safe and high-quality work clothing. In addition to the appropriate protective clothing, good ergonomics of the tools is also very important when laying tiles. Step by step, we would now like to introduce you to the right tools for laying tiles.
The preparation
Good preparation will make your work much easier. Therefore, first look at the substrate on which the tiles are to be laid. If there are cracks and holes, you must first repair them. This can be done, for example, with a painter's spatula, which is super suitable for applying filler.
Once the surface has been repaired, we recommend applying a tile primer. A primer increases the effect of the tile adhesive and ensures that they retain their flawless appearance for many years.
Next is the mixing of the tile adhesive and grout. There, in addition to a sturdy bucket, you need a spiral stirrer so that a homogeneous mass is created from the water and the adhesive or mortar. We offer the spiral stirrer with a diameter of 90 mm and 120 mm.
A tool that every do-it-yourselfer should have is a folding rule or tape measure. With the folding rule you can easily measure the space where you want to lay the tiles and determine the center of the area.
To check your work at best in between, a spirit level should not be missing in your toolbox.
The laying
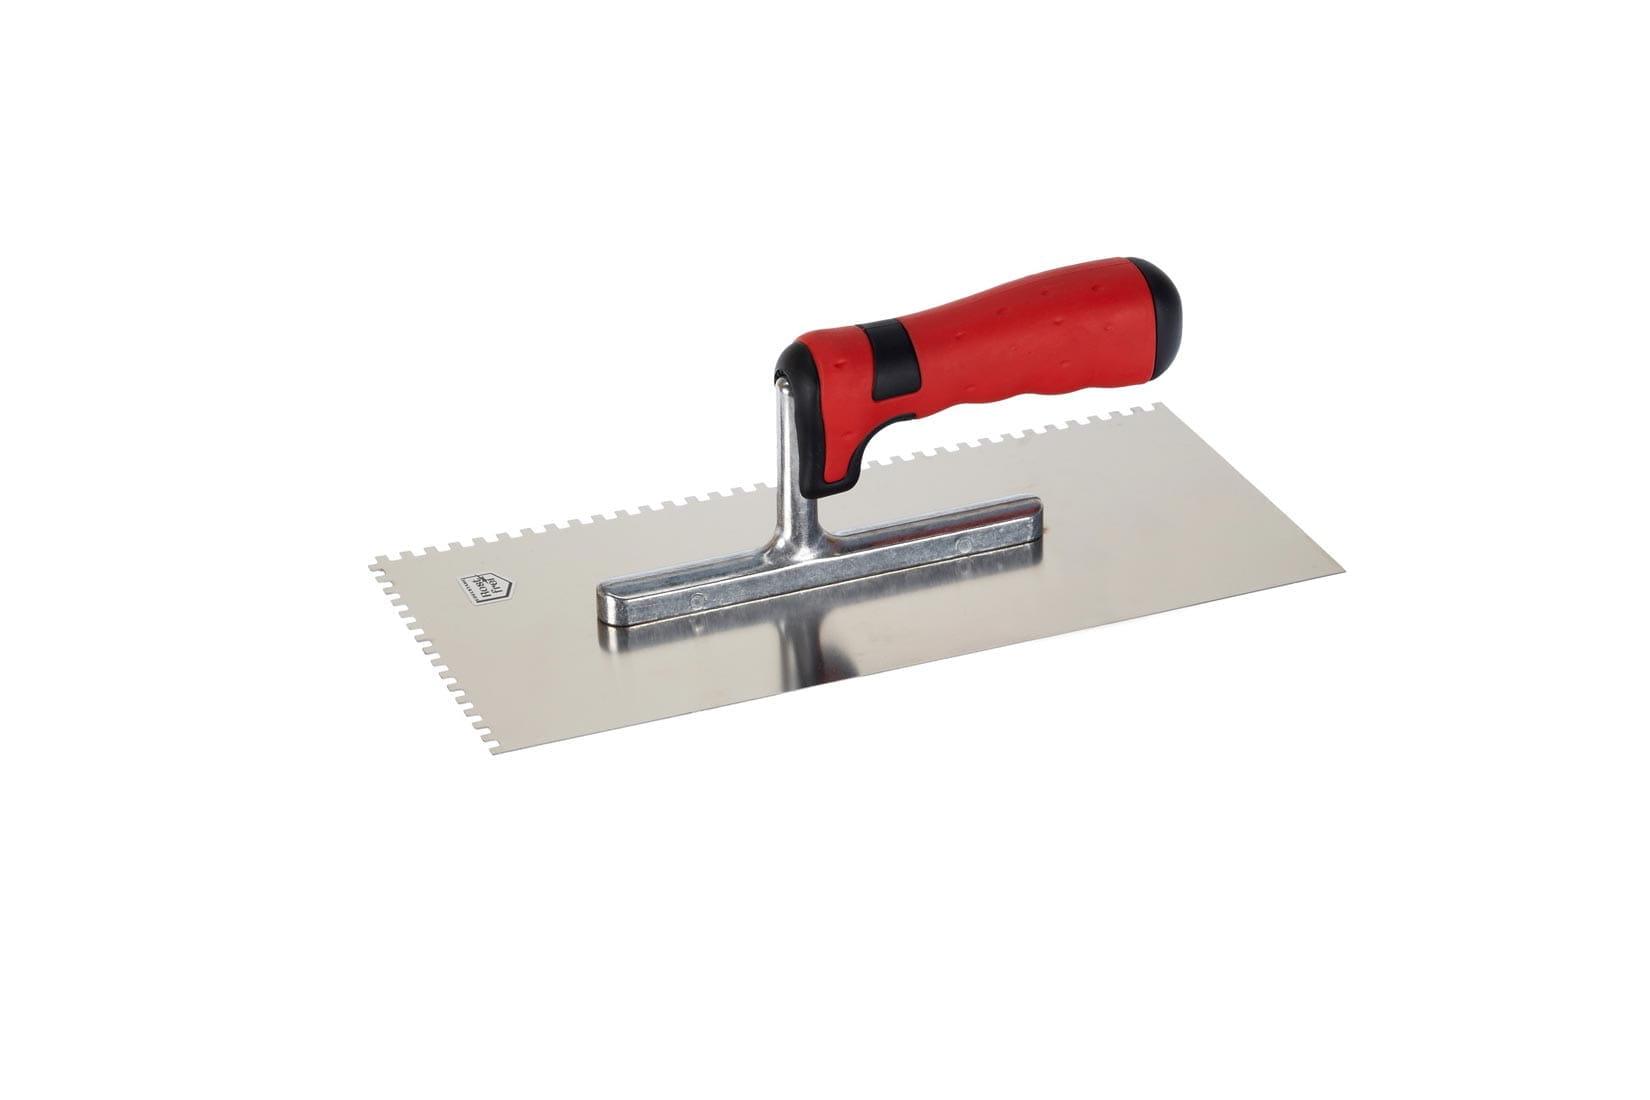 Trowel
Use a trowel to apply the tile adhesive to the wall or floor. Then spread the adhesive with the help of a notched trowel or smoothing trowel with teeth. We offer you different trowels, also with different toothing. How small or large should you choose the toothing? That always depends on which tiles you want to lay.
Now apply the adhesive to the substrate and to the backs of the tiles. For this project, it is best to use two toothed spatulas with different sizes of teeth. Once you have applied the adhesive, you can press the tiles into the adhesive bed with your hands. An alternative here would also be the rubber mallet. For a perfect end result, we recommend that you place black X-shaped joint crosses between the tiles when laying tiles, so that all joints have the same width.
Cutting & Drilling
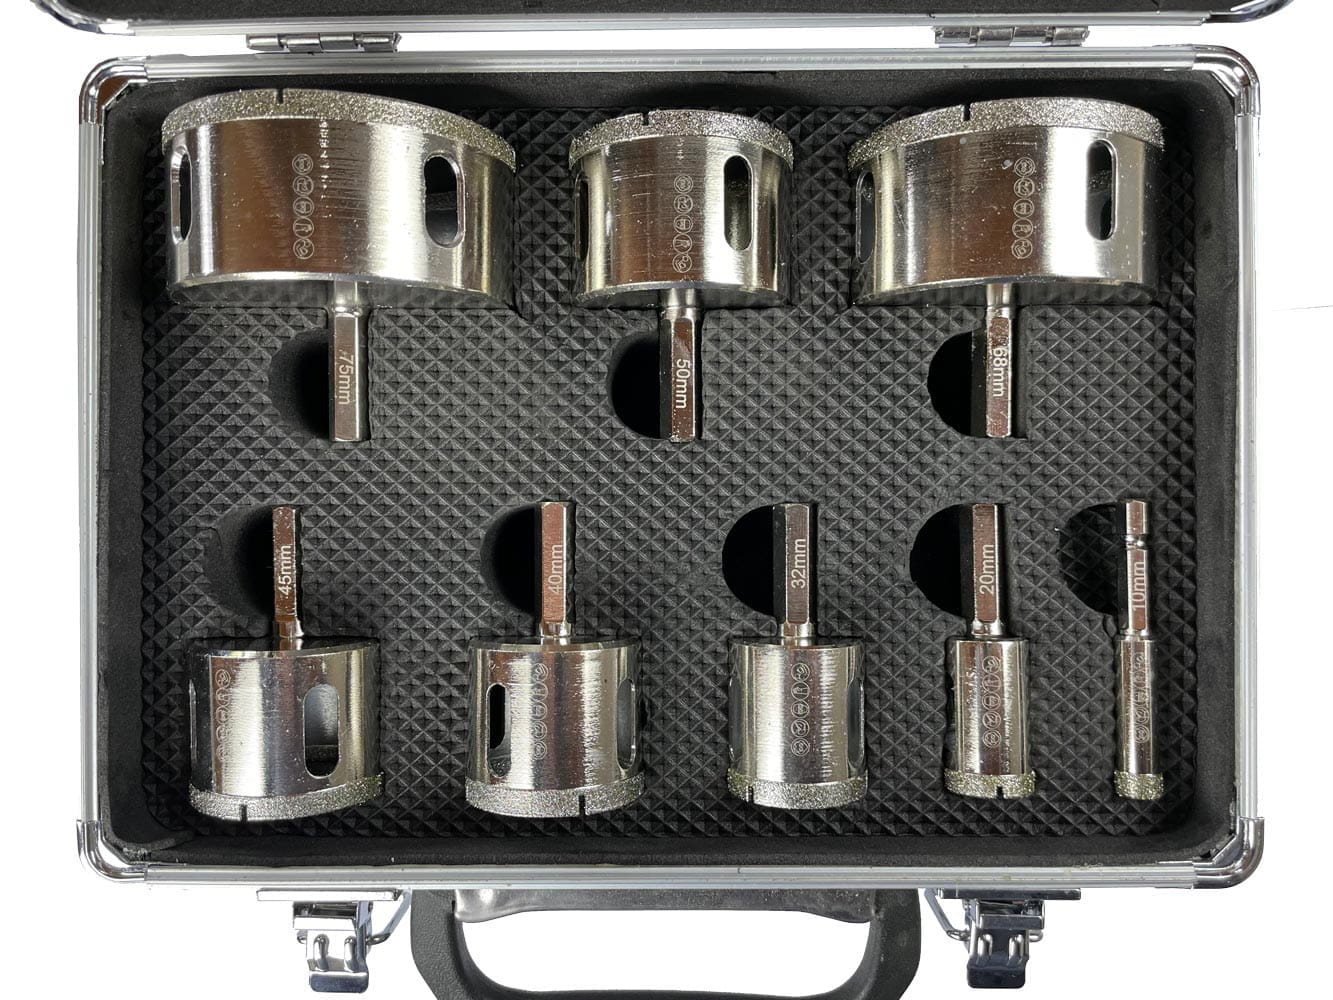 Diamantbohrkronenset
That all the tiles directly fit accurately, this is rather unlikely. Therefore, it is usually necessary to cut some tiles. What tool is needed for this? The most important is the tile cutter. As the name suggests, it is suitable for cutting or breaking different types of tiles. Furthermore, we recommend the glass cutter. With 6 blades and a carbide wheel, it ensures precise work and long life. For absolutely effortless cutting, the diamond cutting disc is well suited. In two different versions, it can cut porcelain stoneware but also granite or marble.
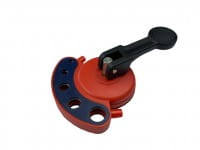
If you do not want to cut but drill, then various utensils will help you. Let's start with the diamond drill bits, which are suitable when the holes should be absolutely round. With us you will find these drill bits in a variety of sizes. From small to large, everything is available. Precise drilling is very easy with the drilling aid for drill bits.
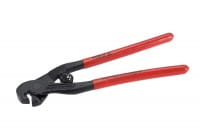
What must not be missing when laying tiles is a tile hammer and a tile punch with spring. While the tile hole punch is ideal for working on pre-drilled holes in tiles and for shaping edges, the tile hammer with its 2-K handle ensures safe, precise work.
Grouting
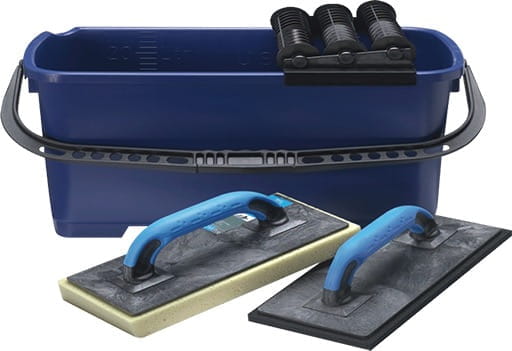 Roller washing set
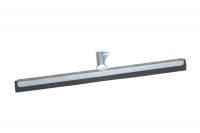
Use a grout board, trowel or grout rubber to spread the grout into the joints. When grouting floor tiles, we recommend the grout rubber, but when laying wall tiles, we recommend the smoothing trowel. This makes it easier for you to get the viscous grout into the joints. Unfortunately, it is impossible to prevent some of the mortar from landing on the tiles. Use a water scraper to remove any coarse residue from the tiles.
Once the grout has hardened, you can start with the actual cleaning. For this purpose, we recommend the roller washing set. This consists of a hydro sponge board, grout board with cellular rubber and a bucket with three rollers attached to the top. With such a set, you first dip the sponge board into the water and then brush it over the rollers. In this way, you prevent too much water from getting onto the tiles and thus into the grout lines. This could cause you to peel off the grout again.
Finally, take another close look over the floor. Has every joint, crack and crevice been sealed with silicone? The silicone you added to the joints with a cartridge sprayer will protect against water and steam penetration.
In addition to the tools, think of yourself and protect yourself with good work clothes. Good gloves and safety glasses, should definitely not be missing when cutting and drilling the tiles. Furthermore, we recommend our knee pads. To facilitate the work on the floor, it makes sense to equip your knees with ergonomic protection.
Lost the overview?
Don't worry, here again is a small list of the utensils that are definitely not to be missed when laying tiles:
- Painter's spatula
- Spiral stirrer
- Folding rule
- Spirit level
- Plumb bob
- Trowel with teeth
- Tile adhesive
- Rubber mallet
- Tile crosses
- Tile cutter
- Glass cutter
- Diamond cutting disc
- Diamond drill bits
- Drilling aid
- Tile hammer
- Parrot tongs
- Trowel
- Grout
- Silicone
- Water scraper
- Roller washing set
- Protective clothing
If you have any questions, we will be happy to help you!
We wish you success
the team of Alles zum Fliesen

